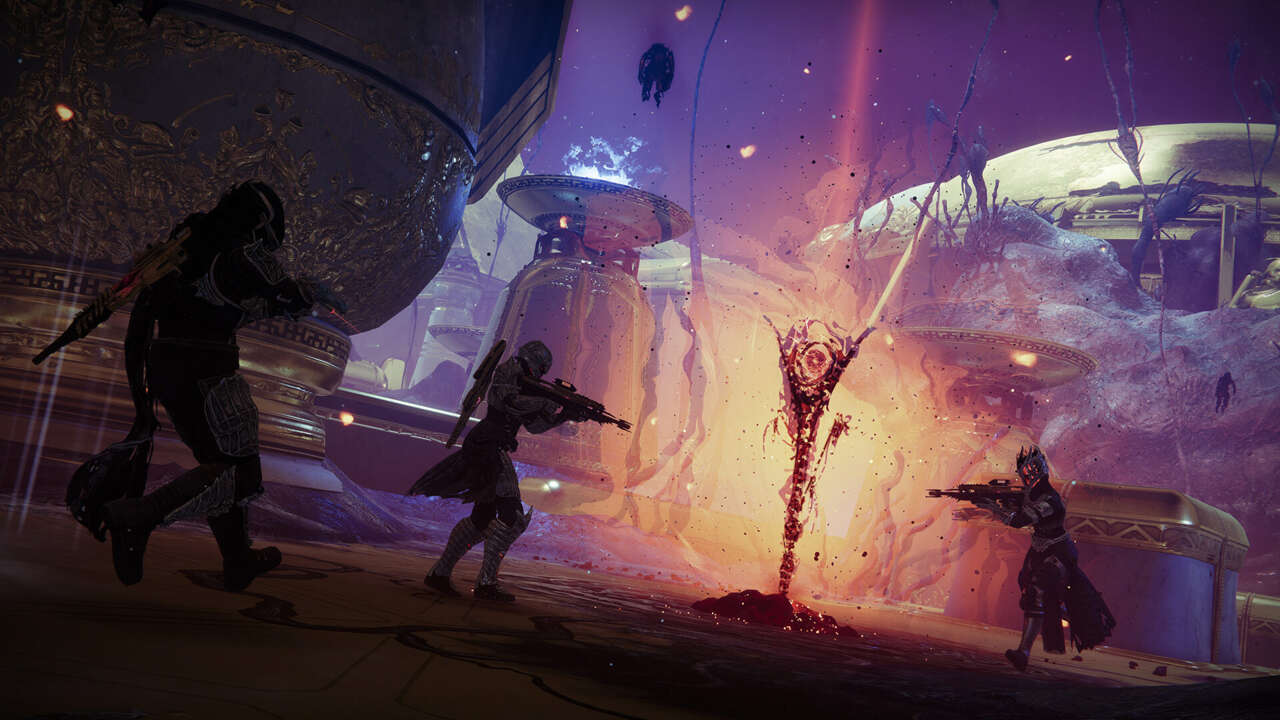
Destiny 2’s Season of the Haunted sends players back to the Leviathan, a huge Cabal ship that’s the home of exiled Emperor Calus and the former location of Destiny 2 vanilla’s Leviathan raid. The Leviathan is the home to the new seasonal activity, Nightmare Containment, which tasks players with using a special device to capture the evil Nightmare creatures we first saw introduced in the Shadowkeep expansion. Containment has a lot of moving pieces and requirements you’ll need to understand to maximize your time with the activity and earn the best rewards you can.
First, it’s worth noting that Nightmare Containment is a Public Event similar to the Altars of Sorrow event on the Moon. The event can be triggered in the Derelict Leviathan’s patrol zones, and features multiple tiers you’ll need to complete to get your rewards–just like the Altars. There are also new currencies you’ll want to earn throughout the course of completing the activity so you can maximize your weapon and armor gains. Here’s everything you need to know about Nightmare Containment in the Season of the Haunted.
How to launch Nightmare Containment

The first thing about Nightmare Containment that’s likely to trip you up is the option to either launch to a Derelict Leviathan location, like the Castellum, or to jump into Containment directly. From the Moon Director screen, you can find the Derelict Leviathan node on the left side, which contains those two options. The truth, however, is that both can get you to Containment, and it doesn’t really matter which you choose.
The two Derelict Leviathan options seem like they’re geared toward making sure there are enough players hanging around that you can complete Nightmare Containment activities whenever you want. The activity, however, is a Public Event, so you can join in whenever you want when you’re hanging around the Derelict Leviathan patrol zone. If you want to explore the Leviathan while maybe occasionally participating in Nightmare Containment activities, choose the Castellum option. If you intend to take on Containment activities specifically, choose the Containment option. It’s worth noting, however, that neither option locks you into a specific activity; you can still wander off and explore if you choose Containment, and you can still play public events if you choose Castellum. The two loading options seem specifically geared at getting players into the Nightmare Containment activity as quickly as possible, if that’s what they’re looking for.
Gather Vestiges of Dread
Like the Season of the Risen’s Psychogenic Intel, the Season of the Haunted has its own special currency, called Vestiges of Dread. These drop from a variety of places–you can get them from enemies you kill all over the Solar System and any completed activity, and they are especially prevalent in the Derelict Leviathan, where you can earn them from completing Containment public events and patrols. You always want to have as many Vestiges of Dread as you can get, because like Psychogenic Intel, they’re key to redeeming rewards during the seasonal event and get you the maximum number of weapons and armor with each round.
Generally, you want to stock up 500 Vestiges of Dread before you take on a Nightmare Containment activity (although it’s worth noting that you’ll earn lots of Vestiges during Containment, also). You need 500 Vestiges to activate the Nightmare Harvester at the end of Tier 3 of Nightmare Containment, which will get you seasonal rewards at the end of the public event. So keep an eye on how many Vestiges you’re carrying and how fast you’re earning them, and make sure to complete various events to keep your count up so you can redeem them at the end of Nightmare Containment.
Triggering Nightmare Containment
When you’re in the Castellum, an icon will appear on your screen indicating where the next Containment activity will take place. Head to the icon and interact with it in order to plant the Nightmare Harvester, a glowing red scepter that triggers the event. The idea here is that you’re drawing powerful Nightmare enemies to you in order to kill them and bind them to the Harvester, removing them from the Leviathan and disrupting Calus’s plans.
Nightmare Containment is separated into three tiers, and you’ll need to complete all three in order to earn rewards for the event. They also slowly get more difficult over time, with the third tier culminating in a big boss fight. There are three total Nightmare Containment bosses, and it seems likely they rotate every week, as we’ve seen with seasonal events in past seasons.
Tier 1 and Tier 2: Gather Shards of Dread

Your first goal in Nightmare Containment is to clear out a ton of enemies in order to power up the Nightmare Harvester. You’re looking to gather “Shards of Dread,” a currency you get from killing enemies during Containment. You get roughly one shard per enemy killed, so the idea is to mow down as many waves as possible, as quickly as possible. The icon on the left side of your screen indicates how many shards you need to complete the first wave of the battle.
Sprinkled throughout this first wave are tougher Nightmare enemies called Dread Bearers. These are Elite enemies with yellow health bars, and they’re tough to bring down on your own. Usually you’ll find these enemies flanked by other Nightmares, and killing one will get you a ball of orange Unstable Essence, with gives you a brief damage boost against Nightmares–so its’ a good idea to kill the smaller Nightmares before taking on the Dread Bearers.
When you kill a Dread Bearer, it’ll drop an orb called a Core of Dread. Pick that up and take it back to the Nightmare Harvester scepter and you can dunk it for a small pile of shards, usually a batch of five or 10 at a time. The upshot of dunking the Core of Dread isn’t the shards, though; the cores causes a reaper scythe Relic weapon to spawn at the Harvester. That scythe is a powerful, if temporary, weapon to use against the waves of enemies. It fires blasts of fire with its normal attack in the same way that caster swords do, and you can use its powerful attack to send out waves of flame that can kill multiple enemies at once. Note, however, that when you spawn the reaper scythe, you’ll also have to deal with a Champion enemy that will appear near the Nightmare Harvester.
After completing a wave to get Shards of Dread, you’ll face a different threat, in which you’ll need to kill four Eregore Atavists. These are special Psion enemies that appear inside bubble forcefields, which you might remember from activities like the Leviathan raid. However, the Atavists are initially hidden, so in order to reveal them, you’ll need to kill four other sniper Psion enemies, called Atavist Illusionists. These are marked on your screen with icons to make them easier to find, and you’ll want to track down these Elite enemies as fast as you can.
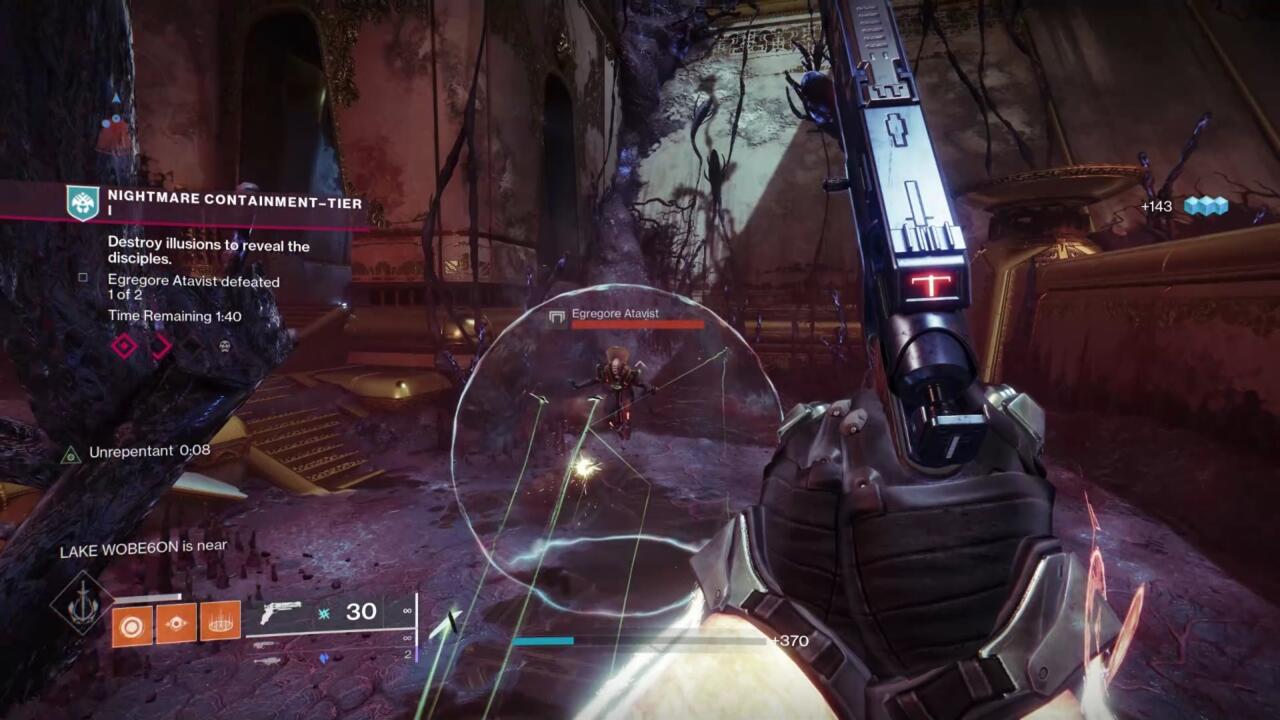
Once you kill the first two Atavist Illusionists, you’ll reveal two Eregore Atavists. You can’t shoot these guys, thanks to their forcefields; you’ll need to jump in close and punch them in the face in order to kill them. Repeat the process to kill the second two Eregore Atavists to end the wave.
For Tier 1, you’ll need to complete these two parts of the activity twice each–two waves to get shards and two waves to kill Atavists. If you complete all four parts of the activity, the Nightmare Harvester will spawn a Heavy Ammo chest, which you can use to power yourself up for the next tier. However, as with all three tiers, you don’t actually need to complete the tier to move on to the next one. If the timer runs out on the tier, it’ll end, but you’ll still be able to move up to Tier 2.

After completing the first tier of Containment, the trigger for the second tier will appear somewhere else in the area after a short timer ticks down. Like with Altars of Sorrow, you’ll need to activate it relatively quickly to keep the activity going. Tier 1 and Tier 2 have mostly the same requirements, with one caveat: Tier 2 will also feature a Nightmare Harbinger miniboss enemy to kill. As you damage it, the Harbinger will
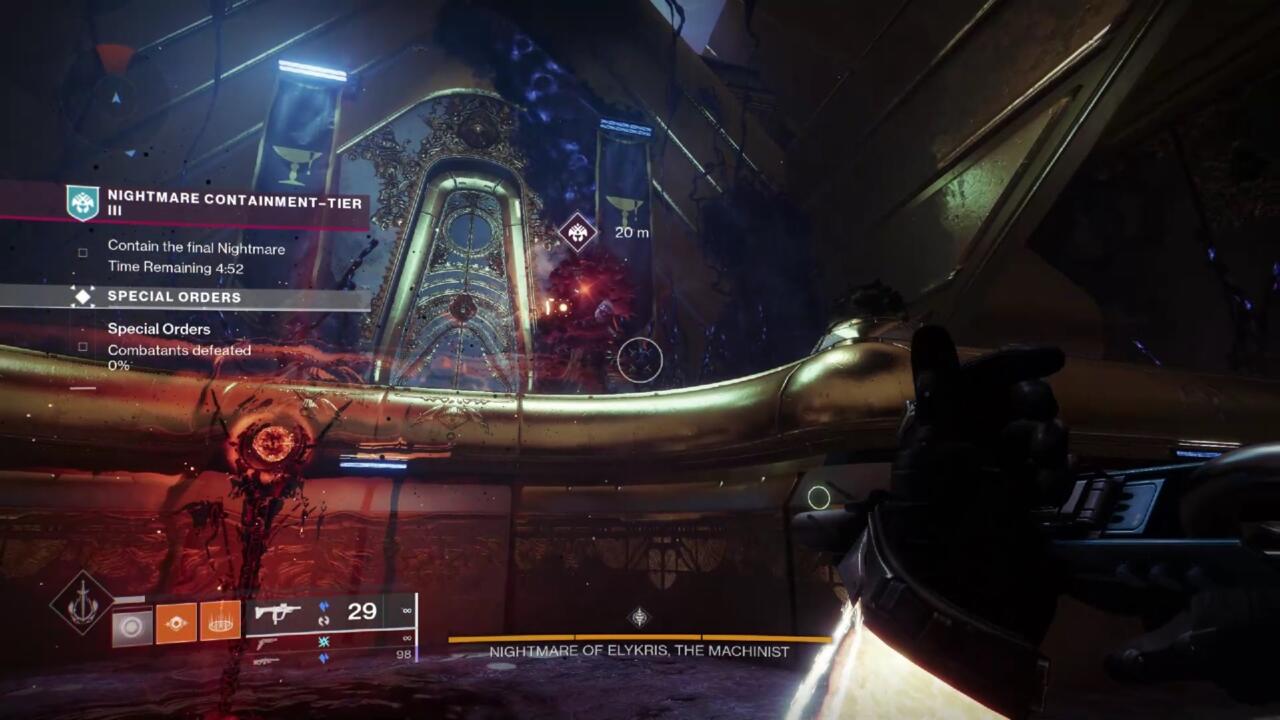
Tier 3: Nightmare of Elykris boss fight
The last part of the Containment activity is the toughest, largely because it’s in a smaller area in the Castellum with a huge boss enemy. For the first week, that enemy is Elykris, a Nightmare version of the Scorn Baron known as the Machinist from the Forsaken story campaign. Your goal to start with is to do as much damage to the boss as quickly as possible. The boss’s health bar is divided into thirds, and hitting each of the three markers will trigger a different phase in which you’ll need to break a shield on the boss in order to keep damaging it. Keep in mind also that while you’re fighting the boss, additional enemies will spawn in all around you, so you’ll want to clear them out occasionally to keep from getting overwhelmed.
Once you get the boss’s health down by a third, it’ll gain a shield that makes it invincible, with two Elite Abomination spawnintg nearby, which are also shielded. To take down the shield, you’ll need to shoot six diamond-shaped Resonant Splinters floating around the boss arena–you might recognize these nodes from the Vow of the Disciple raid and the Wellspring activity in Savathun’s throne world. Knock out all six Resonant Splinters as quickly as you can, keeping in mind that more enemies will spawn–including explosive Screebs.
Destroying the splinters won’t drop the boss’s shield, but it will eliminate the shields on the yellow health bar Abominations. These are your next targets, and you’ll want to take them out as quickly as possible. With both of them dead, the boss will be vulnerable again, and you can resume doing damage again until you’ve knocked its health bar down to its last third.
Note that while you’re fighting the Abominations and doing boss damage, the Dread Bearer Nightmare enemies will also show up around the arena. Taking down these enemies will produce a Core of Dread, just like in the first two tiers of Containment, and dunking those cores at the Nightmare Harvester will produce reaper scythes you can use against the boss. So as before, it’s a good idea to clear these enemies out as fast as you can to get the extremely useful scythe weapon into your hands or the hands of your teammates. The scythes are great for clearing out enemies in general, so it’s a good idea to prioritize grabbing them.

Finishing off the boss will trigger a reward chest just like in any other public event (although you don’t need to win to get rewards–you just get more rewards for successfully killing the boss). You can turn in your Vestiges of Dread at the Nightmare Harvester, which will earn you additional seasonal rewards for your trouble. After that, you’ll have to wait a short while for another round of Nightmare Containment events to kick off, during which time you can search the Castellum for secrets.
Finding lockdown protocol chests
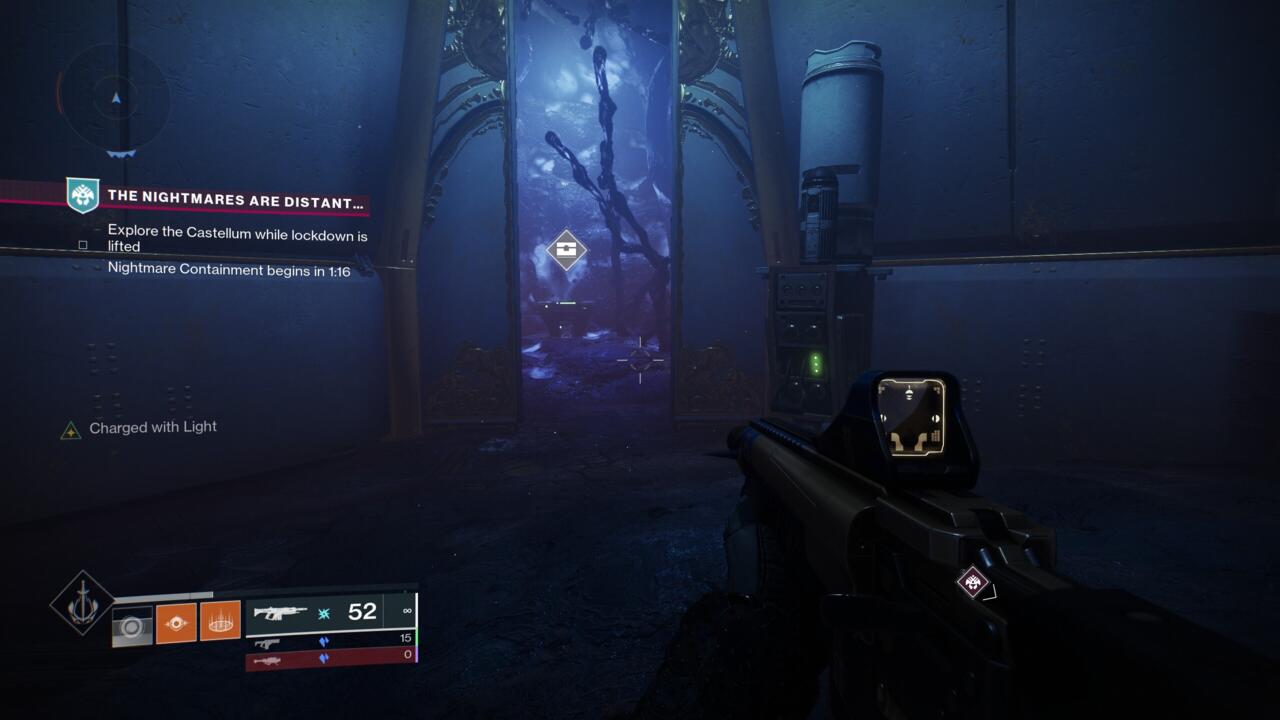
After you finish Tier 3 of the Nightmare Containment activity, you’ll have two minutes until another activity can begin. With the Nightmare temporarily banished, you’ll see a message telling you that “Lockdown protocols in the Castellum have temporarily lifted.” This means that you have two minutes to explore the area to find special treasure chests, which are only available during this period.
The lockdown protocol refers to side rooms that are normally locked off and inaccessible. If you explore the side alcoves throughout the Castellum, you should find locked doors with big switches beside them. The message that appears on your screen at the end of Tier 3 will tell you how many of these switches are currently active. Look for switches that have green lights on them–normally, the lights are red, indicating that the lockdown protocol is in effect. You can identify the switches by listening for them; they’ll periodically beep, indicating which ones can be activated.
Flipping the switch opens the nearby door, which will reveal a chest and provide additional rewards. The rewards you get from these lockdown chests varies pretty wildly–they’re basically the same as the chests you find randomly in patrol zones–so don’t worry too much if you miss out on them.
There’s likely more to uncover in the Nightmare Containment activity, especially as the event rotates through additional bosses, so we’ll update this article as we learn more about it over teh course of the season.
GameSpot may get a commission from retail offers.
For all the latest Games News Click Here
For the latest news and updates, follow us on Google News.