How To Build Your Own Retro Gaming Console With A Raspberry Pi

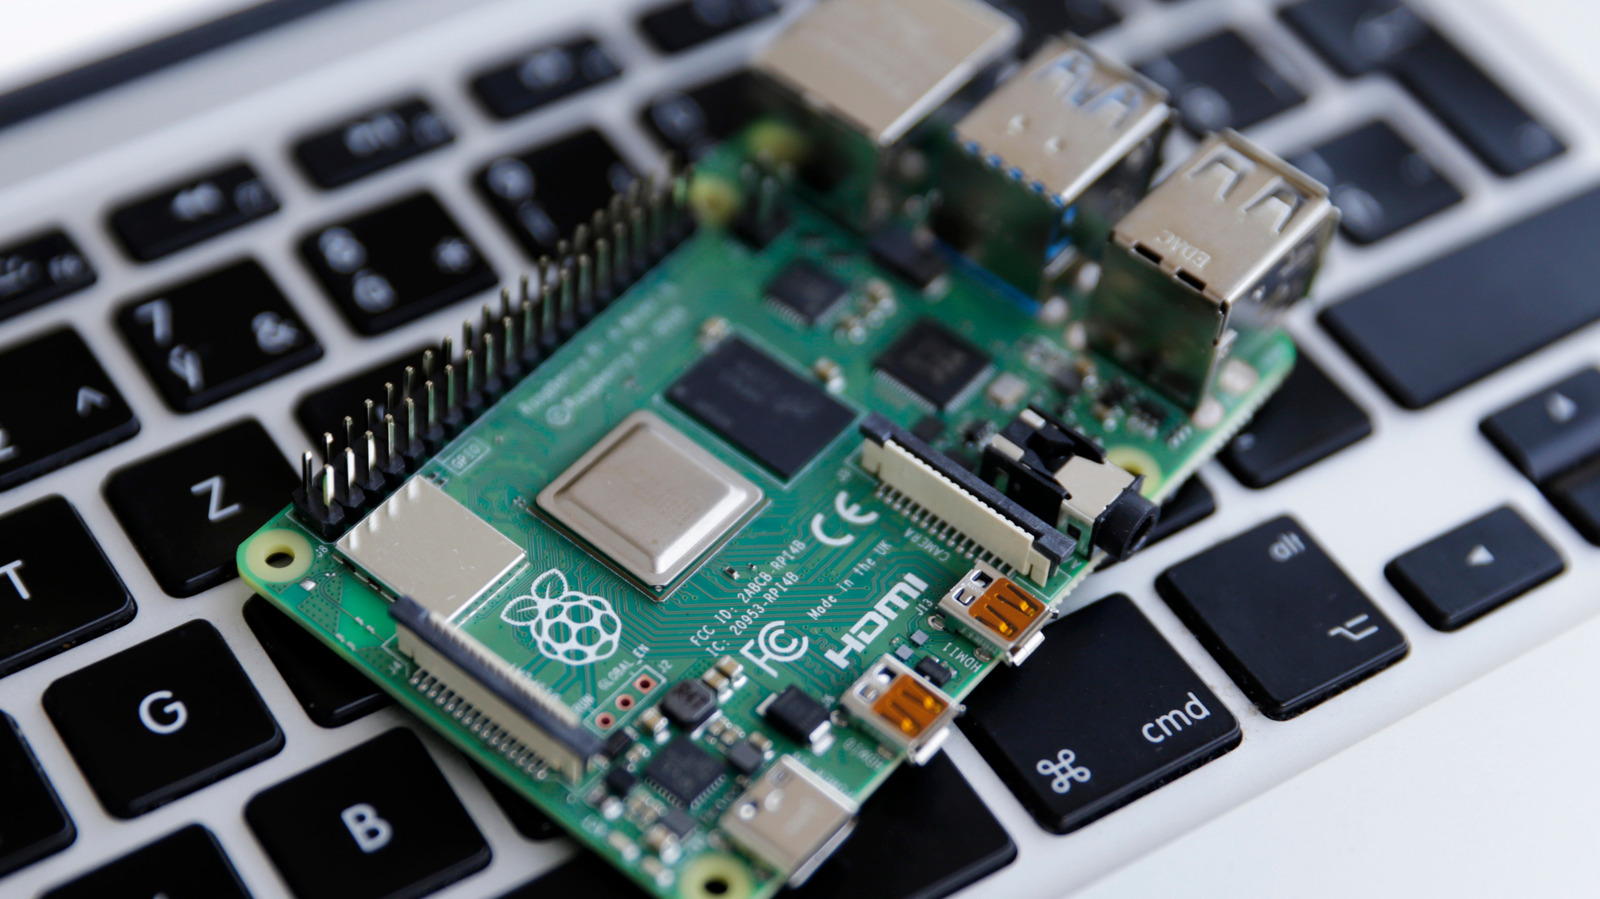
Once your micro SD card is mounted with RetroPie, you can plug it into your fully assembled Raspberry Pi 4 and begin the setup process in the software menu that appears. Make sure your controller is nearby, as you’ll need it during the first boot process. If you’re using a USB controller, make sure it’s connected physically, then follow the instructions on-screen.
If you’re using a Bluetooth controller, tap F4 on your USB keyboard to exit back into the Linux command prompt screen, then type and execute the command “sudo ~/RetroPie-S etup/retropie-setup.sh” that loads you into a backend RetroPie menu. Navigate to the Bluetooth option and then open it to begin searching for a controller. Set your Bluetooth controller to sync mode, then pair it in the menu. Return to the Linux command prompt and type the command “sudo shutdown -r now”. Upon loading back into RetroPie, you should be able to use your Bluetooth controller by simply turning it on and following the on-screen menu. Once everything is complete, you’ll end up on another menu with the option RASPI-CONFIG, which you should now select.
Upon tapping that option, you’ll be taken to the main configuration menu for RetroPie, which includes all sorts of different settings. Go ahead and configure whichever settings you need. It’s also a good idea to navigate to Advanced Settings and disable Overscan if you’re using an HDTV. From here, you should be able to load your ROMs (stored on your SD card) and play them from the menu that appears when you boot up RetroPie. Check out the RetroPie documentation for troubleshooting any issues you may encounter, and happy gaming!
For all the latest Games News Click Here
For the latest news and updates, follow us on Google News.
