This is the simplest and easiest way to connect your Raspberry to Wi-Fi. Raspberry Tips has some cool instructions on how to use advanced settings. The first thing you will need to do is download and install the Raspberry Pi Imager. If you are new to the tech, the Raspberry Pi Imager is the fastest and easiest way to install the Raspberry Pi OS. To connect your Raspberry Pi using the Imager:
1. Insert an SD card into your computer.
2. Download and run the Raspberry Imager, which is available via the official link.
 SlashGear
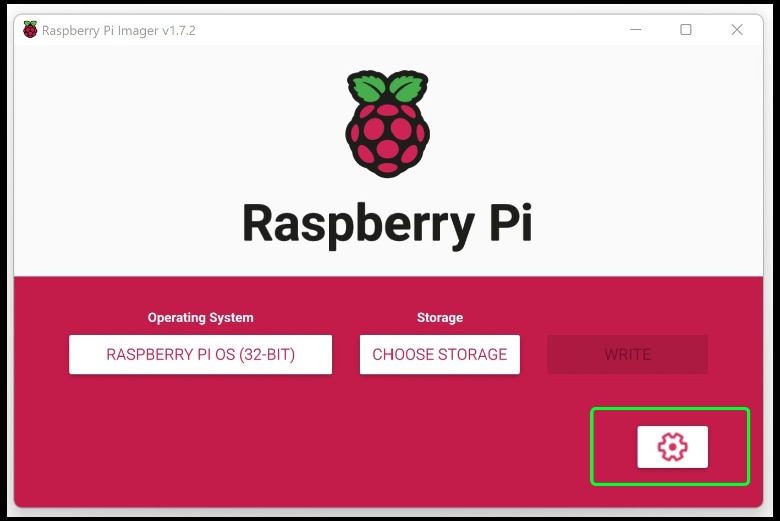
3. Select the operating system you want to use and select your SD card by clicking “Choose Storage.”
4. Open “Advanced Options” by clicking on the gear icon in the bottom right corner of the app.
5. In “Advanced Options,” find and click the box to enable SSH and enter your username and password.
6. Click the box next to “Configure wireless LAN.” The credentials for the Wi-Fi network you’re already using will automatically appear in the “SSID” and “Password” fields. If that’s not the case, you’ll need to manually enter them.
 SlashGear
7. Click “Save.”
8. Click the “Write” button, and the installation will run with your settings included.
9. Boot your Rasberry Pi. It will now connect to the Wi-Fi network automatically!
For all the latest Games News Click Here
For the latest news and updates, follow us on Google News.