Microsoft recently announced that it would be bringing Copilot to Windows 10, offering its new AI assistant for users on its older operating system. However, Copilot’s release date is still yet to be revealed. That, however, hasn’t stopped some users from finding a way to get Copilot on Windows 10 a little early.
Before we dive into the specifics of how this works, it is worth noting that this particular procedure requires you to sign up for Windows 10 Insider and take advantage of unreleased versions of Windows 10 that are still being actively worked on. That means you may encounter some bugs in this version of Windows 10 that Microsoft would normally fix before full release.
Additionally, to pull off this “hack” and get Copilot on Windows 10, you’ll also need to use a third-party app to tweak the operating system. As such, I do not recommend following this method if you are uncomfortable messing around with your operating system’s settings.
- First, download and install Windows 10 build 19045.3754 or newer. As of the writing of this article, build 19045.3754 is only available in Microsoft’s Windows 10 Release Preview Channel. To install this update, you must join Windows Insiders through your Windows Update settings.
- You’ll also want to update Microsoft Edge to the latest version (or install it if you don’t have it installed).
- Once done, you’ll also need to download and extract the ViVeTool from Github. This is how you’ll make the necessary tweaks needed to get Copilot on Windows 10 before its full-blown release.
- With everything installed, open an Administrator-level Command Prompt and navigate to the folder where you extracted the ViVeTool files. So, if you extracted it to your C drive, you’d type CD C:\Vive to navigate there.
- Next, type in vivetool /enable /id:46686174,47530616,44755019. Press enter and then restart your computer.
- Once the computer has restarted, launch the Windows Registry Editor and then find the file Computer\HKEY_CURRENT_USER\SOFTWARE\Microsoft\Windows\Shell\Copilot\BingChat. Find the IsUserEligible value and then change it from 0 to 1. Do not edit anything else in the registry editor, or you could mess your computer up.
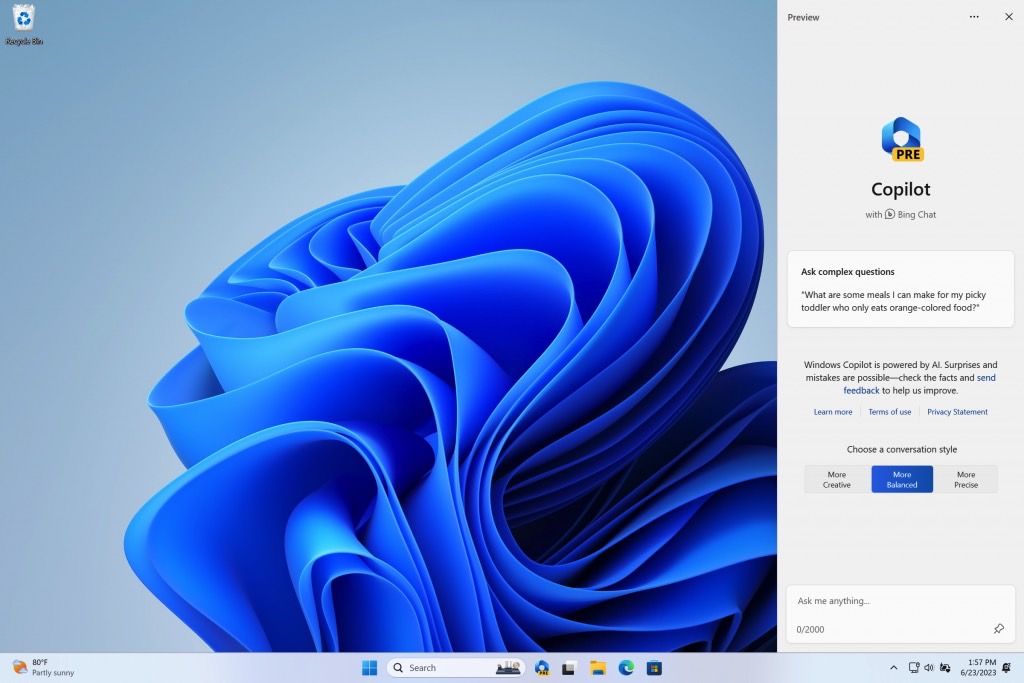
Now restart your computer, and then you should be able to select the Show Copilot (preview) button option when right-clicking on the taskbar. Congratulations, you now have Copilot in Windows 10.
For all the latest Technology News Click Here
For the latest news and updates, follow us on Google News.